Start with software and placement fixes first, enable Wi-Fi Calling second, and only then consider a booster or professional install. That sequence solves the majority of weak-signal complaints without spending a dollar.
Quick actions you can take right now:
- Toggle Airplane Mode for several seconds. This forces your phone to drop a weak, distant tower and reconnect to the strongest one nearby, according to PCMag’s signal guide.
- Restart your phone. A full reboot clears stuck radio states that a simple unlock won’t fix.
- Move to a window or a higher floor. Concrete, metal framing, and Low-E glass all block radio signals. Even a few feet toward an exterior wall can shift your dBm reading noticeably.
- Remove your phone case. Metal-backed or thick cases measurably reduce reception in marginal signal areas.
- Enable Wi-Fi Calling. If you have broadband, this is the fastest zero-cost fix for dropped calls indoors.
- Update your OS and carrier settings. Outdated carrier profiles cause connection issues that have nothing to do with tower distance.
Pro Tip: Before trying anything else, check your actual signal strength in dBm, not bars. On iPhone, dial 3001#12345# and tap “Serving Cell Measurements.” On Android, go to Settings > About Phone > Status > SIM Status. A reading of -85 dBm or better means you have a workable signal. Below -100 dBm, you need more than a software fix.
Key Takeaways
The fastest path to better cell signal is to exhaust free fixes first, measure before buying hardware, and match the solution to the actual cause.
| Point | Details |
|---|---|
| Start with free fixes | Toggle Airplane Mode, restart, enable Wi-Fi Calling, and move toward exterior walls before buying anything. |
| Measure dBm, not bars | Use Field Test mode or a signal app to get real dBm readings; below -100 dBm outdoors, a booster won’t help. |
| Match the fix to the cause | Weak indoor Wi-Fi needs mesh or Ethernet; weak outdoor signal needs a booster; congestion needs timing or carrier changes. |
| Use only FCC-certified boosters | Non-certified equipment is illegal in the U.S. and can cause carriers to degrade your service deliberately. |
| Lowvoltagecorp installs and surveys | Lowvoltagecorp provides site surveys, FCC-certified hardware, and documented before/after installs across South Florida. |
Table of Contents
- Why your cell signal is weak in the first place
- How to measure your signal and choose the right fix
- Step-by-step troubleshooting before you buy anything
- Wi-Fi Calling, femtocells, and when internet-based fixes are enough
- When mesh Wi-Fi or Ethernet backhaul solves what looks like a cellular problem
- Cell signal boosters: how they work and when to choose one
- Practical antenna and booster placement for best results
- Common booster problems and how to diagnose them
- When to hire a professional installer and what to expect
- How your environment and landscaping affect cell signal
- Long-term strategies for improving cell signal
- What installers actually see most often
- Lowvoltagecorp handles the survey, hardware, and install
- Sources
Why your cell signal is weak in the first place
Bars on your screen are a simplified, carrier-specific display that hides what’s actually happening at the radio layer. Understanding the real causes lets you match the right fix to the right problem instead of guessing.
Distance to the tower is the most straightforward factor. Radio signals weaken with distance, and if the nearest tower is several miles away, no amount of restarting will compensate for physics. Rural and suburban fringe areas deal with this constantly.
Building materials are the hidden culprit in most urban and suburban homes. Concrete walls, metal studs, and Low-E window glass (the kind that reflects heat) act as near-complete radio blockers. A phone sitting two feet from a Low-E window can read 20 dBm weaker than the same phone held outside. PCMag notes that metal-framed structures and certain glass types can significantly block radio signals, and removing a heavy or metal-backed case can improve reception measurably.
The other common causes, in rough order of frequency:
- Local interference: neighboring Wi-Fi equipment, microwaves, and poorly shielded electronics all generate noise in the 2.4 GHz and 5 GHz bands that can degrade data throughput even when voice calls seem fine.
- Network congestion: your bars can look full at 6 PM and your data can still crawl. CNET confirms that congestion during peak hours causes slowdowns and dropped calls even when signal strength appears adequate.
- Device issues: a failing SIM card, an outdated modem firmware, or a phone that’s simply old enough that its radio antenna has degraded.
- Carrier coverage gaps: some neighborhoods sit at the edge of a carrier’s licensed spectrum band, meaning one carrier has solid LTE there and another has almost nothing.
Signal strength reference (dBm):
-65 dBm or better = strong, full-speed data. -75 to -85 dBm = good, reliable calls and data. -85 to -95 dBm = marginal, calls work but data slows. -95 to -105 dBm = weak, frequent drops. Below -105 dBm = near-unusable without intervention.
How to measure your signal and choose the right fix
Guessing based on bars wastes time. A dBm reading and a quick speed test tell you exactly what you’re dealing with and which solution tier makes sense.
Finding your dBm reading
- iPhone: Dial 3001#12345# to open Field Test mode. Tap “Serving Cell Measurements” and look for “rsrp0” (LTE) or the equivalent 5G field. That number is your real signal level.
- Android: Go to Settings > About Phone > Status > SIM Status > Signal Strength. Some Android skins bury this under “Network” or require a third-party app like Network Cell Info Lite.
- Both platforms: Apps like OpenSignal or Network Cell Info Lite display dBm continuously and log it as you move around, which is useful for mapping weak zones room by room.
What the numbers mean in practice
| dBm Range | Signal Quality | Practical Performance |
|---|---|---|
| -65 or better | Excellent | Full-speed data, crystal-clear calls |
| -75 to -85 | Good | Reliable calls, solid data speeds |
| -85 to -95 | Fair | Calls work, data noticeably slower |
| -85 to -95 | Poor | Frequent call drops, slow data |
| -95 to -105 | Very poor | Intermittent connection only |
| Below -105 | Unusable | No reliable service |
Speed tests and coverage maps
Run a speed test (Speedtest by Ookla or Fast.com) both indoors and outdoors at the same location. If your outdoor reading is strong and your indoor reading is weak, the building is the problem, and a booster or Wi-Fi Calling will help. If both readings are weak, the issue is tower distance or coverage gap, and you need to check your carrier’s coverage map to confirm. AT&T, T-Mobile, and Verizon all publish interactive maps; cross-reference them with your dBm reading to see whether you’re in a documented fringe zone.
Pro Tip: Test at three times: early morning (low congestion baseline), midday, and 6–7 PM peak. If your dBm stays consistent but speed drops at peak hours, congestion is the culprit, not signal strength. That changes the fix entirely.
Step-by-step troubleshooting before you buy anything
Most signal problems have a software or placement fix. Work through this list in order before spending money on hardware.
- Toggle Airplane Mode. Switch it on, wait 15 seconds, switch it off. Your phone reconnects to the nearest strong tower instead of clinging to a distant weak one. This single step resolves a surprising number of persistent drop issues.
- Restart the phone completely. Not sleep/wake. A full power cycle clears radio stack errors that accumulate over days of uptime.
- Update your OS and carrier settings. On iPhone, go to Settings > General > About; if a carrier update is available, it prompts automatically. On Android, check Settings > System > Software Update. Carrier profile updates often include band-priority changes that improve local performance.
- Remove your phone case. Test signal with the case off. If dBm improves by more than 5 points, your case is a real factor.
- Switch from 5G to LTE. 5G mmWave has extremely limited range and penetration. In areas with marginal 5G coverage, forcing LTE (Settings > Cellular > Voice & Data on iPhone; Settings > Network & Internet > SIMs on Android) often yields a stronger, more stable connection.
- Move to a window or exterior wall. Test dBm in multiple rooms. Signal can vary by 15–20 dBm between an interior bathroom and a room with an exterior-facing window.
- Enable Wi-Fi Calling. On iPhone: Settings > Phone > Wi-Fi Calling. On Android: Settings > Connections > Wi-Fi Calling. Once enabled, calls and texts route over your broadband connection when cellular is weak.
- Test outdoors. Step outside and check dBm. If outdoor signal is below -95 dBm, a booster won’t help much because there’s too little signal to amplify. If outdoor signal is -85 dBm or better, a booster is a viable option.
Troubleshooting branch: If outdoor signal is usable (-85 dBm or better) but indoor signal is poor, a booster with a directional exterior antenna is your best hardware option. If outdoor signal is also weak, contact your carrier first to confirm coverage and ask about a femtocell or small cell device.
Pro Tip: Ask your carrier to reprovision your SIM remotely. This takes two minutes on a support call and refreshes your device’s network registration. It fixes a specific class of authentication-layer issues that look like signal problems but aren’t.
Wi-Fi Calling, femtocells, and when internet-based fixes are enough
Before buying any hardware, consider whether your broadband connection can carry the load. For many homes, it already can.
Wi-Fi Calling routes voice calls and SMS over your home internet connection using VoIP protocols, completely bypassing the cellular network for those calls. BGR reports that enabling Wi-Fi Calling is frequently the simplest zero-cost fix for poor indoor reception. All major U.S. carriers support it on modern devices, and call quality over a solid broadband connection is typically indistinguishable from a cellular call. The only catch: emergency calls (911) may not always route correctly over Wi-Fi Calling depending on your carrier and location, so verify your carrier’s policy.
Femtocells and small cells are carrier-provided devices that create a miniature cell tower in your home using your broadband as backhaul. Verizon’s Network Extender and T-Mobile’s Personal CellSpot are examples. They work well for voice and basic data but require a carrier account in good standing, a broadband connection with low latency, and carrier approval. Not all carriers still actively support consumer femtocells, and some charge a monthly fee or require a deposit.
A quick comparison of the three approaches:
- Wi-Fi Calling: Zero cost, works immediately, requires no hardware, depends on broadband quality. Best for homes with reliable internet and occasional cellular dead zones.
- Femtocell/small cell: Carrier-dependent, may have fees, covers only that carrier’s subscribers in the home, requires broadband. Best when Wi-Fi Calling isn’t supported or when multiple household members need coverage on the same carrier.
- Cell signal booster: Hardware cost ($200–$1,500+ depending on coverage area and system type), works for all carriers simultaneously, amplifies real cellular signal, no broadband dependency. Best when outdoor signal exists but building materials block it indoors.
Pro Tip: If you’re running Wi-Fi Calling over a congested wireless network, call quality will suffer. Hardwire the router or access point handling your calls via Ethernet for noticeably better voice stability. A wired network setup makes a real difference for stationary devices.
When mesh Wi-Fi or Ethernet backhaul solves what looks like a cellular problem
A significant portion of “bad cell signal” complaints in homes are actually weak Wi-Fi problems in disguise, especially when Wi-Fi Calling is enabled. If your phone is connected to a distant router through two walls, your Wi-Fi Calling quality will be poor regardless of what the cellular network is doing.
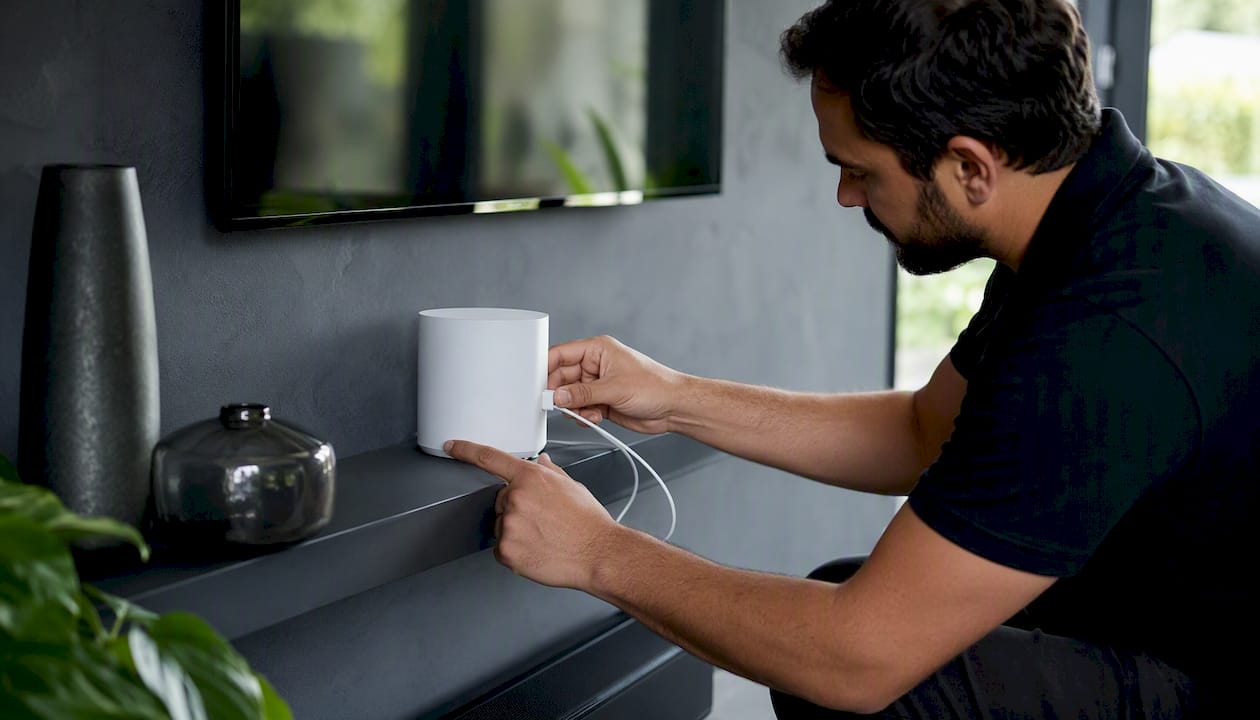
Mesh Wi-Fi systems place multiple access points throughout a home and hand off devices as they move, eliminating the dead zones that a single router creates. The eero blog confirms that mesh systems reduce dead zones and, when combined with wired backhaul for high-demand devices, provide the best stability and coverage for VoWiFi and data-heavy use.
Placement tips for mesh nodes:
- Place nodes no more than two rooms apart, with line of sight between them where possible.
- Keep nodes away from microwaves, cordless phone bases, and baby monitors, all of which generate 2.4 GHz interference.
- Hardwire at least one node via Ethernet to your modem or main router. This eliminates the wireless hop that cuts mesh throughput in half.
- Position nodes at mid-height (desk or shelf level), not on the floor or in a closet.
When to choose mesh or Ethernet over a booster: if your outdoor cellular signal is strong and your indoor Wi-Fi is the weak link, a mesh system or a second access point is the right fix. Buying a booster when the real problem is Wi-Fi dead zones wastes money. A simple Ethernet run to a second router configured as an access point can solve dead zones cheaply when a full mesh system is out of budget.
Pro Tip: Use a Wi-Fi heatmap app like NetSpot (Mac/Windows) or WiFiman (iOS/Android) to map signal coverage before placing nodes. Walk every room, let the app log signal levels, and the resulting heatmap shows exactly where to put the next node. Guessing wastes both money and wall space.
Cell signal boosters: how they work and when to choose one
A cell signal booster is a three-part system: an exterior antenna captures the existing cellular signal outside your building, an amplifier boosts it, and one or more interior antennas rebroadcast the amplified signal inside. CNET’s guide describes this chain clearly and notes that professional installation is recommended to optimize placement and maintain compliance with interference rules.
Boosters do not create signal from nothing. If outdoor signal is below roughly -100 dBm, there isn’t enough to amplify into something usable. That’s the single most important thing to understand before buying one.
Types of boosters
- Residential/consumer boosters: designed for single-family homes, typically covering 1,500–5,000 sq ft. Brands like weBoost and SureCall dominate this category. These are the right starting point for most homeowners.
- Vehicle boosters: smaller amplifiers with magnetic-mount exterior antennas for cars, trucks, and RVs. Useful for rural driving but not relevant for fixed home installs.
- Enterprise/commercial systems: distributed antenna systems (DAS) or high-gain commercial boosters for multi-story buildings, warehouses, or facilities. Coverage expectations are measured in tens of thousands of square feet. See commercial booster options for facility-scale guidance.
Specs that actually matter
- Gain (dB): the amplifier’s boost level. Consumer units typically offer 60–72 dB of gain. Higher gain helps with distant towers but increases the risk of oscillation (feedback between antennas).
- Supported bands: verify the booster covers the specific LTE or 5G bands your carrier uses in your area. Band 12 (700 MHz) and Band 13 (700 MHz) are common low-band LTE frequencies that penetrate buildings well. Check your carrier’s band map.
- Coverage area claims vs. reality: manufacturers state coverage under ideal conditions. In a concrete building with multiple walls, expect 30–50% of the stated coverage area.
- Uplink power: how strongly the booster transmits back to the tower. Higher uplink power matters more in rural areas with distant towers.
Regulatory note: The FCC requires that all signal boosters sold or used in the United States be certified by the agency. Using non-certified equipment can cause harmful interference to carrier networks and is illegal. The FCC signal boosters FAQ covers consumer and commercial compliance requirements in detail.
Pro Tip: A correctly aimed directional (Yagi or LPDA) outdoor antenna captures distant tower signals far better than an omnidirectional antenna when towers are several miles away. Before committing to a permanent mount, temporarily pole-mount the antenna and test dBm at different heights and orientations. The difference between a poorly aimed and a well-aimed directional antenna can be 10–15 dBm.
Practical antenna and booster placement for best results
Getting the hardware right is only half the job. Placement determines whether a booster delivers its rated gain or underperforms by 20 dB.
Step-by-step placement guide
- Find the strongest outdoor signal point. Walk the perimeter of your home with your phone in Field Test mode. Note the location and height where dBm peaks. That’s where the exterior antenna goes.
- Mount the exterior antenna as high as practical. Rooftop or eave mounts consistently outperform ground-level or window mounts. Every meter of height reduces obstructions.
- Aim directional antennas toward the tower. Use your carrier’s tower locator or a site like CellMapper to identify the nearest tower. Point the antenna’s face toward it. A 10-degree error costs less than 1 dB; a 45-degree error can cost 6 dB or more.
- Route cable with minimum bends. LMR-400 coaxial cable loses less signal per foot than standard RG-6. Keep runs as short as possible and avoid sharp bends.
- Place interior antennas in the weakest zones. Identify the rooms with the worst indoor signal (use your dBm readings from earlier). Mount the interior antenna centrally in that zone, not next to the amplifier.
- Maintain antenna separation. The exterior and interior antennas must be separated by enough distance (and ideally a floor or wall) to prevent oscillation. Most amplifiers specify a minimum vertical separation of 20 feet and horizontal separation of 50 feet. Follow the manufacturer’s spec sheet.
- Verify signal after installation. Check dBm in the target rooms before and after. A well-installed residential booster should improve indoor readings by 20–30 dBm in the coverage zone.
Installation checklist:
- Ground the exterior antenna mount to building ground per local electrical code.
- Use weatherproof connectors on all outdoor cable terminations.
- Label cable runs for future maintenance.
- Document before/after dBm readings in each target room.
Pro Tip: Before drilling any permanent holes, use a telescoping pole or a painter’s pole to temporarily hold the exterior antenna at the proposed mount height. Check dBm indoors with the amplifier running. If the gain isn’t there at the test height, adjust before committing to a permanent install. This step alone prevents the most common post-install complaints.
See South Florida installation tips for regional considerations including hurricane-rated mounting hardware and humidity-resistant connectors.
Common booster problems and how to diagnose them
A booster that’s installed but not working correctly is almost as frustrating as no booster at all. Most problems fall into a short list of categories.
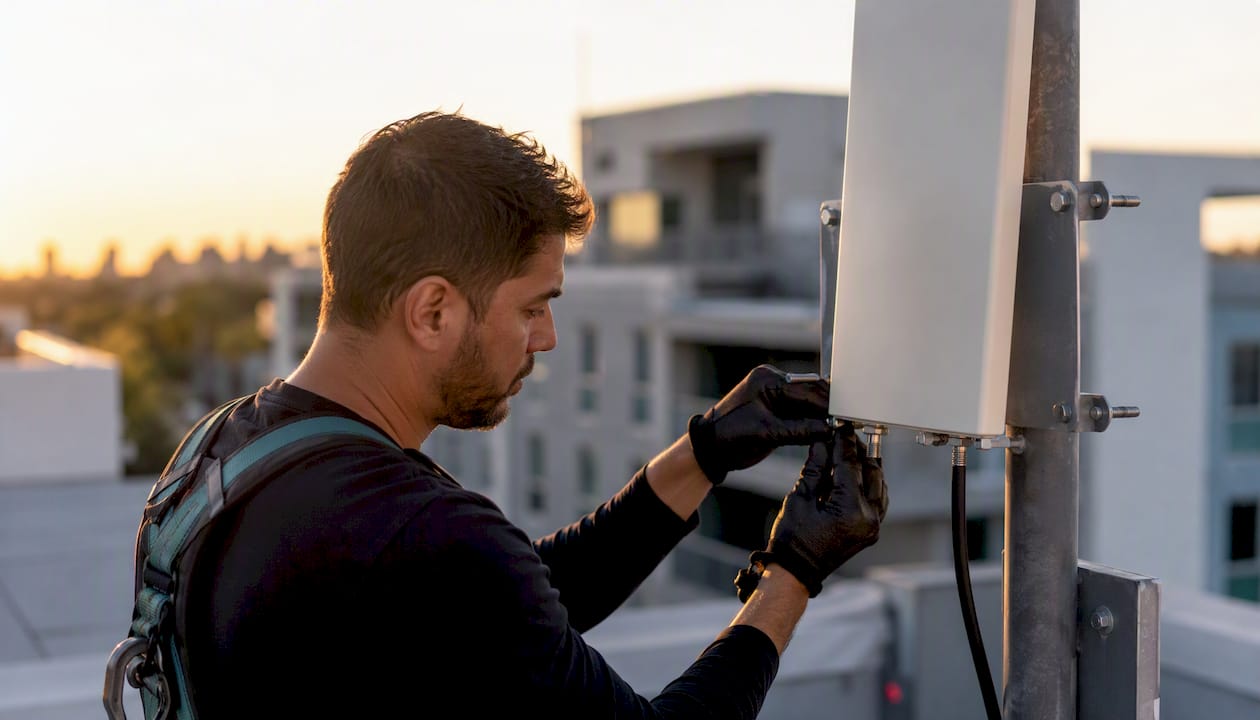
Oscillation (feedback): the amplifier detects its own signal from the interior antenna through the exterior antenna and shuts down or reduces gain automatically. Symptoms include the amplifier’s LED flashing red or amber, or signal actually getting worse after install. Fix: increase physical separation between antennas, add vertical separation (different floors), or reduce amplifier gain manually if the unit allows it.
No improvement after install: the most common cause is insufficient outdoor signal. If outdoor dBm was already below -100 before install, the booster has too little to work with. Confirm outdoor signal at the antenna mount point, not just at ground level. Also check all cable connections for loose fittings or water ingress.
Improvement in one room, dead zone in another: the interior antenna’s coverage pattern doesn’t reach the problem area. Add a second interior antenna (most commercial-grade amplifiers support multiple interior antennas via a splitter) or reposition the existing one.
Correct bands, wrong carrier: some boosters are sold as “all-carrier” but only cover a subset of bands. Verify the booster’s band list against your specific carrier’s active bands in your ZIP code.
Diagnostic flow:
- Check outdoor dBm at the antenna mount point first.
- Inspect all cable connections and look for corrosion or water.
- Read the amplifier’s LED status indicators (most units have a diagnostic LED sequence in the manual).
- Test interior antenna placement in multiple positions before concluding the unit is faulty.
- Watch for oscillation indicators and increase antenna separation if present.
For a detailed troubleshooting workflow, the booster problems guide covers common failure modes and maintenance steps.
Pro Tip: Log your dBm readings before installation, immediately after, and one week later. Signal conditions change with weather, foliage, and carrier network changes. A log gives you a baseline to compare against if performance degrades, and it’s the first thing a professional installer will ask for if you call for support.
When to hire a professional installer and what to expect
Some installs are genuinely DIY-friendly. Others aren’t, and attempting them without the right tools and experience usually costs more in the end.
Hire a professional when:
- The building has concrete, CMU block, or metal-panel construction that requires specialized cable routing.
- Coverage is needed across multiple floors or a large commercial footprint.
- You’re experiencing persistent oscillation that antenna repositioning hasn’t resolved.
- The property is a multi-tenant building where interference with neighboring units is a concern.
- You need documented FCC-compliant hardware for a lease, permit, or property management requirement.
What a professional site survey includes
- Outdoor signal measurement at multiple points and heights around the building.
- Building material assessment to identify the primary attenuation sources.
- Coverage zone mapping using signal measurement tools to identify the worst indoor areas.
- Hardware recommendation matched to your carrier bands, building size, and budget.
- Regulatory check confirming the proposed equipment is FCC-certified and that the installation plan avoids interference issues.
- Installation and verification with before/after dBm documentation in each target zone.
- Workmanship warranty covering the installation itself, separate from the hardware manufacturer’s warranty.
Ballpark costs: a residential booster install (hardware plus labor) typically runs $500–$2,000 depending on building complexity and the system tier. A commercial or multi-story install can run $3,000–$15,000 or more for a distributed antenna system. These are rough ranges; a site survey produces an accurate quote.
Questions to ask any installer:
- Can you show me the FCC certification documentation for the proposed hardware?
- Will you provide a before/after signal measurement report?
- What’s included in the workmanship warranty, and for how long?
- How do you handle oscillation if it occurs post-install?
Pro Tip: Request a written measurement report with dBm readings at each target location before and after installation. A professional installer who won’t provide this is a red flag. That document is also your proof of performance if the system underdelivers.
For property managers and facility managers, cell boosters in property management covers how booster installs fit into service contracts and maintenance workflows.
How your environment and landscaping affect cell signal
Most people think about building materials and forget that the outdoor environment between their home and the nearest tower matters just as much.
Trees and dense foliage absorb and scatter radio signals, particularly at higher frequencies like 2.5 GHz and above. A mature oak or a dense hedge row between your home and the tower can reduce signal by several dBm. This effect is seasonal in deciduous climates: signal is often noticeably better in winter when leaves are gone. In South Florida, year-round tropical foliage makes this a persistent factor rather than a seasonal one.
Practical steps on the landscaping side:
- Trim branches that directly obstruct the line of sight between your rooftop antenna and the tower direction.
- Avoid mounting exterior antennas behind large trees or dense shrubs. Even a few feet of clearance above the canopy makes a measurable difference.
- Consider antenna height carefully in heavily vegetated lots. A rooftop mount that clears the tree line outperforms a lower eave mount by a significant margin.
Terrain matters in ways that aren’t obvious from a street-level view. A small hill or ridge between your property and the tower creates a shadow zone. In flat terrain like much of South Florida, this is less of a factor, but a neighboring building or a concrete wall can create the same effect at a smaller scale.
Neighboring structures can both block signal and reflect it. A metal warehouse next door might actually reflect a distant tower’s signal toward your building at a useful angle, or it might create multipath interference that degrades data throughput. Testing signal at multiple points around your property reveals which situation you’re in.
The takeaway: before finalizing exterior antenna placement, identify the direction of the nearest tower and check for obstructions along that path at the proposed antenna height. Clearing even a partial obstruction is often cheaper than upgrading to a higher-gain antenna.
Long-term strategies for improving cell signal
Hardware fixes address the symptom. These strategies address the underlying situation.
Audit your carrier’s actual coverage in your area using their official map and a third-party tool like OpenSignal or Rootmetrics. Carrier maps are optimistic by design. Third-party crowd-sourced data shows real-world performance from real users at your address. If your carrier consistently underperforms at your location and a competitor shows strong coverage there, that’s a data-driven case for switching.
Negotiate with your carrier. If you’re in a documented fringe zone, carriers sometimes offer femtocells at no cost, credit for poor service, or expedited tower upgrade timelines for areas with enough customer complaints. Call the retention department, not general support. Bring your dBm data and your speed test logs. Carriers respond to documented evidence more than to general complaints.
Switch carriers strategically. Different carriers license different spectrum bands in different areas. T-Mobile’s Band 71 (600 MHz) has strong rural and suburban penetration. Verizon’s Band 13 (700 MHz) covers many suburban markets well. AT&T’s FirstNet spectrum (Band 14) prioritizes first responders but also benefits general subscribers in some areas. Check which bands have active towers nearest your address before switching.
Plan for 5G band expansion. Carriers are actively deploying mid-band 5G (2.5 GHz, 3.5 GHz) in urban and suburban markets. If your area is on the deployment roadmap, a booster that supports those bands will serve you longer than one that covers only low-band LTE. Ask any installer about future-proofing band support before committing to hardware.
Consider a long-term service contract for booster maintenance if you’re a property manager. Boosters require periodic inspection of cable connections, antenna mounts, and amplifier firmware. A maintenance agreement with a licensed low-voltage contractor keeps the system performing at spec and catches problems before they become outages.
What installers actually see most often
The gap between what homeowners expect from a booster and what they actually get usually comes down to three mistakes that show up on nearly every DIY install.
The first is placing the exterior antenna too low. Ground-level or first-floor window mounts are almost always suboptimal. The antenna needs to clear the building’s own structure, nearby trees, and neighboring buildings to have a clean line to the tower. Installers routinely find that moving an antenna from a first-floor window to a rooftop mount doubles the captured signal level.
The second is ignoring the cable run. A 100-foot run of cheap RG-6 coax can eat 6–8 dB of signal before it even reaches the amplifier. That’s signal the amplifier can never recover. Quality LMR-400 cable and properly torqued connectors are not optional on longer runs.
The third, and most avoidable, is using non-certified equipment. Non-FCC-certified boosters are sold online and look identical to compliant units. They often cause interference with carrier networks, which can result in your service being deliberately degraded by the carrier as a countermeasure. The FCC’s signal booster rules exist for this reason, and a professional installer will never propose non-certified hardware.
The simplest thing homeowners miss during DIY installs: they skip the outdoor baseline measurement. Without knowing what signal level the exterior antenna is actually capturing, there’s no way to know whether the system is performing correctly or whether the problem is the hardware, the placement, or the outdoor signal itself.
Pro Tip: Before calling for service on an underperforming booster, step outside and check dBm at the exterior antenna’s mount point. If outdoor signal there is weak, the fix is antenna repositioning or a higher-gain antenna, not a new amplifier.
Lowvoltagecorp handles the survey, hardware, and install
Weak signal in a building you manage is a documented, solvable problem. Lowvoltagecorp provides site surveys, signal measurement reports, FCC-certified hardware specification, and full installation for residential and commercial properties across South Florida.
A Lowvoltagecorp site survey covers outdoor dBm mapping at multiple points, building material assessment, interior dead zone identification, and a written hardware recommendation matched to your carrier bands and coverage requirements. Every install includes before/after signal documentation and a workmanship warranty. The hardware proposed is always FCC-certified, and the measurement report gives you proof of performance you can keep on file.
For property managers handling multiple units or facilities, Lowvoltagecorp offers cell booster service contracts that include periodic inspection and maintenance. For facility-scale needs, see commercial booster installation options.
Contact Lowvoltagecorp to request a site survey or get a quote for your property.
Sources
- How To Improve Mobile Signal Strength | PCMag
- How to get better phone signal | CNET
- Signal boosters FAQ | FCC
- How to boost Wi‑Fi signal | eero blog