For most existing analog sites, the smartest path is a hybrid upgrade: run network encoders on cameras that still perform well, and replace only the units covering entrances, cash areas, or license plates where resolution actually matters. Alternatives include EoC adapters, which reuse coax but cap out on bandwidth and distance, and full IP replacement, which costs more upfront but future-proofs everything at once. DIY works for small single-building jobs; anything involving fiber, PTZ/RS485, or access control integration calls for a licensed low-voltage contractor.
TL;DR:
- Upgrading with network encoders is cost-effective and suitable for cameras with good optics, housing, and low-light performance.
- Using Ethernet over Coax adapters is ideal for short runs but may limit bandwidth and distance, making full IP replacement necessary for high-resolution identification zones.
- Conducting a thorough site audit—checking resolution, lens type, cable condition, and housing integrity—ensures an effective hybrid upgrade plan.
- Ethernet cabling beyond 100 meters requires extenders, switches, or fiber, with Cat6 preferred for future 4K camera upgrades.
- Professional installation is recommended for complex rewiring, fiber runs, or access control integration, as wiring issues are the most common challenge.
Table of Contents
- Upgrade Analog to IP: Comparing Encoders, EoC, and Full Replacement
- What Should You Audit Before Upgrading Your Analog System?
- Do You Need New Cabling for an IP Camera Upgrade?
- Encoder, Hybrid NVR, NVR, or Software VMS: Which Fits Your Site?
- What Does a Phased Analog-to-IP Migration Look Like?
- How Do You Test and Tune a Migrated IP Camera System?
- What Does an Analog-to-IP Upgrade Cost and How Long Does It Take?
- When Should You Bring in a Professional for This Upgrade?
- What Surprises Installers Most on Analog-to-IP Jobs?
- Ready to Plan Your IP Camera Migration?
- Sources
Upgrade Analog to IP: Comparing Encoders, EoC, and Full Replacement
Three real paths get you from analog to IP, and most sites end up using more than one.
Network encoders take your existing analog video signal and convert it into a standard IP stream using RTSP or ONVIF, so it can talk to a modern software VMS. A network encoder digitizes analog video without touching the camera hardware itself, which makes this the fastest and cheapest way to modernize a site full of otherwise-solid cameras. Multi-channel encoders, in 4, 8, or 16-port configurations, let you convert a whole rack of cameras at once instead of swapping devices one at a time.
EoC (Ethernet over Coax) adapters let you keep the coax you already ran, converting it to carry Ethernet signal instead of ripping and re-pulling. They work, but bandwidth and distance drop off compared to native Cat6, so they suit shorter runs and lower camera counts.
Full IP replacement is the only real option when you need better resolution for identification. Encoders cannot sharpen the image an old analog lens is already capturing.
- Encoders: cheapest, fastest, best for cameras with good optics and housings still in service
- EoC adapters: good for reusing coax on short-to-medium runs without a full rewire
- Full replacement: necessary for entrances, license plates, and any identification-critical zone
- Hybrid: mix all three by zone, based on what each camera location actually needs
What Should You Audit Before Upgrading Your Analog System?
Walk the property with a checklist before you commit to a plan, because the audit determines which of the three approaches applies to which camera.
- Record each camera’s resolution (TVL rating), lens type, housing condition, and IR performance in low light.
- Note which cameras run PTZ or RS485 control wiring, since those require special handling during any encoder or replacement swap.
- Document your DVR’s model number, output ports, and remaining service life.
- Measure cable type (RG59, RG11, Siamese) and run length at every camera location.
- Flag any camera with cracked housings, foggy lenses, or dead IR LEDs as a replacement candidate regardless of the rest of the plan.
A camera is worth keeping if the optics are sharp and the low-light performance still holds up. If the housing survives Florida humidity and the lens is clean, an encoder gives it new life. If it’s already fuzzy at night, no encoder fixes that. When you send specs to vendors, include the terms they need to quote accurately: D1 resolution, 720 TVL, RTSP, and ONVIF compliance.
Do You Need New Cabling for an IP Camera Upgrade?
Ethernet has a hard distance limit of 100 meters (328 feet) per run without extenders or fiber. Any camera location beyond that needs a PoE extender, a switch closer to the camera, or a fiber run back to the head end.
For new pulls, the safer move is running Cat6 instead of Cat5e, since Cat6 gives you more headroom if you upgrade to 4K cameras later. On new construction or major retrofits, some installers pull both coax and Cat6 to each location simultaneously, keeping the analog option alive as a fallback while committing to IP as the primary path.
Pro Tip: Label every cable run at both ends the day you pull it. Six months from now, nobody remembers which gray cable feeds the loading dock camera.
Key planning factors:
- PoE switches need enough power budget for every connected camera, plus headroom for future additions
- PoE+ (802.3at) supports higher-draw devices like PTZ cameras with heaters
- Bandwidth scales with resolution and frame rate. A single 4K camera can eat as much bandwidth as four 1080p cameras running side by side
- Storage retention (30, 60, 90 days) is the single biggest driver of your storage budget, more than camera count alone
Beyond 100 meters, Ethernet simply stops working reliably. That single number should drive every cable-run decision on your site plan, before you even think about camera counts.
Read more on cable types and future-proofing and wiring installation practices for the specifics of a proper pull.
Encoder, Hybrid NVR, NVR, or Software VMS: Which Fits Your Site?
A network encoder turns analog signal into an IP stream so any modern recorder can ingest it. A hybrid NVR accepts both analog inputs and native IP camera streams on the same box, useful mid-migration. A pure NVR only takes IP streams, meaning every camera feeding it must already be IP or encoded. A software VMS running on a server or virtual machine can often handle both analog-via-encoder and native IP streams on one platform, since most VMS options accept RTSP and ONVIF regardless of source.
ONVIF and RTSP compatibility matters because it keeps you from getting locked into one manufacturer. Buy a camera or encoder that speaks ONVIF, and you can swap recorders or VMS platforms later without replacing the cameras.
Storage choices break down three ways:
- Local storage on the NVR itself, simplest but hardest to scale
- Network-attached storage (NAS), better for multi-building sites with centralized IT
- Cloud storage, easiest to maintain but recurring cost and bandwidth-dependent
Whichever you pick, firmware updates need a process. Batch-scheduling updates across all cameras and encoders at once avoids the slow drift where half your site runs outdated firmware. Read our breakdown of NVR functionality for more on how recorders actually process incoming streams.
What Does a Phased Analog-to-IP Migration Look Like?
Skipping the pilot is the single most common way facilities blow their migration budget. Here’s the sequence that actually works:
- Pick a pilot zone with a representative mix of camera types, cable runs, and network conditions. Not your easiest cameras. Your typical ones.
- Validate the network before touching cameras: switch capacity, PoE budget, and existing cabling condition.
- Convert or replace the pilot cameras, then run them for at least a week under real conditions before expanding.
- Document every issue the pilot surfaces. A small pilot reveals crushed coax and failing connectors that a spec sheet never shows.
- Roll out in phases, coordinating with IT on switch ports and VLAN assignments as each zone comes online.
- Label and document every new run, encoder assignment, and IP address as you go, not after the fact.
- Run cutover checks: retention policy settings, motion zone calibration, time sync across all devices, and network configuration.
- Keep a rollback plan for each phase. If a zone fails testing, the old analog signal path should still work until the new one passes.
Pro Tip: Never decommission the old DVR until the new system has run clean for at least two full weeks. Cutting the cord early is how you end up with a gap in your footage log during an incident review.
How Do You Test and Tune a Migrated IP Camera System?
Before calling any zone finished, walk the field checks in person, at the actual hours the camera matters most.
- Verify focus, exposure, and field of view under both daylight and nighttime IR conditions
- Confirm license plate and face capture at the actual distances you need for identification
- Tune motion detection zones to cut false triggers from traffic, tree movement, or reflections
- Run a network health check for packet loss and confirm PoE switches aren’t running near their power ceiling
- Test storage write speed under full camera load, not just at idle
Keep before-and-after image captures for each converted camera. It’s the fastest way to prove the upgrade delivered what you paid for, and it becomes your acceptance record for the vendor.
What Does an Analog-to-IP Upgrade Cost and How Long Does It Take?
Labor, cable pulls, and storage almost always outweigh the camera or encoder hardware itself on the invoice.
- Encoders amortize well on sites with many still-serviceable cameras, since one multi-channel unit covers several feeds
- Full replacement costs more per camera upfront but eliminates future encoder maintenance
- Small sites sometimes find per-channel encoder pricing lands close to entry-level IP camera pricing, tipping the math toward replacement instead
- PoE switches, storage, and VMS licensing scale with camera count and retention length, not just camera type
A pilot typically runs 1 to 2 weeks. A small building rollout takes 2 to 4 weeks. Campus-scale migrations across multiple buildings can stretch into months. Get formal quotes before locking a budget. Rough numbers help scope the project, but only a site survey gives you real figures.
When Should You Bring in a Professional for This Upgrade?
Complex rewires, fiber runs, and any integration touching access control or alarm panels are where DIY attempts usually go sideways. PTZ and RS485 control wiring in particular trips up installers who haven’t handled it before, since polarity and address conflicts aren’t obvious until the camera simply won’t respond.
A quality bid should include:
- A written site survey covering every camera location and cable condition
- Cable test reports for existing runs you plan to reuse
- A pilot phase before full commitment
- Documentation and staff training on the new system
- Clear warranty terms on labor and hardware
For guidance on what ongoing maintenance should look like once the system is live, see our repair workflow for property managers. Comparing options against a vendor-neutral configuration reference can also help you sanity-check a contractor’s proposed scope before signing.
What Surprises Installers Most on Analog-to-IP Jobs?
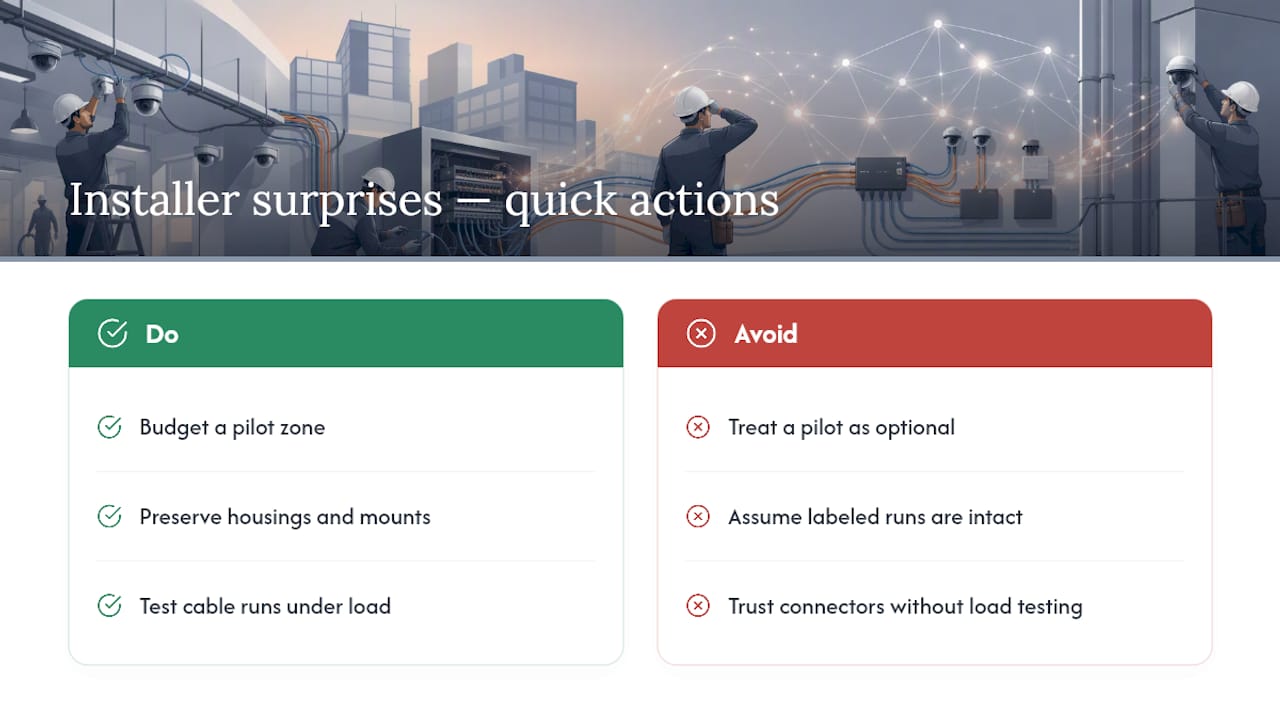
The surprise is almost never the camera. It’s the cable. Runs labeled correctly on the panel turn out to be crushed behind drywall, or a connector that looked fine for years fails the moment you put real load on it during testing. That’s exactly why a pilot zone earns its place in the budget instead of being treated as an optional step.
One habit worth keeping: preserve the housing and mounting hardware when you swap a camera for IP. Reusing what already fits the wall or eave saves a second site visit and keeps the job on schedule.
— Aaron
Ready to Plan Your IP Camera Migration?
A professional low voltage contractor handles the part most facility managers dread: figuring out which cameras to keep, which to encode, and which need full replacement, without guessing at cable conditions or PoE loads. A qualified low voltage contractor scopes a hybrid migration around your actual site conditions instead of pushing a one-size rip-and-replace.

A site visit typically starts with a walk-through of your current cabling and camera inventory, followed by a written quote that separates pilot-zone work from full rollout costs. From there, most managers start with a pilot phase covering one building or wing before committing to the rest of the property. If your current wiring is the real question mark, the security camera wiring guide is a good place to see what a proper pull involves, and you can request a site survey through Lowvoltagecorp’s installation service page to get a firm quote for your property.
Sources
- IP Camera vs Analog DVR: Encoder Selection and Migration – Industrial Monitor Direct
- How to Convert Analog Camera to Ip – SurveillanceGuides
- How to Turn Analog CCTV Cameras into IP Security Cameras – Reolink Blog