Lighting considerations for surveillance define whether your security cameras capture usable evidence or produce blurry, unidentifiable footage. The right illumination type, placement, and intensity determine if a camera can identify a face, read a license plate, or trigger a reliable motion alert. Infrared and white-light illumination are the two primary technologies used in professional security systems, each serving a distinct purpose. The Illuminating Engineering Society (IES) sets the baseline standards most professionals reference, and companies like Raytec have built entire product lines around the gap between standard street lighting and true surveillance-grade illumination.
What are the optimal types and levels of light for effective surveillance?
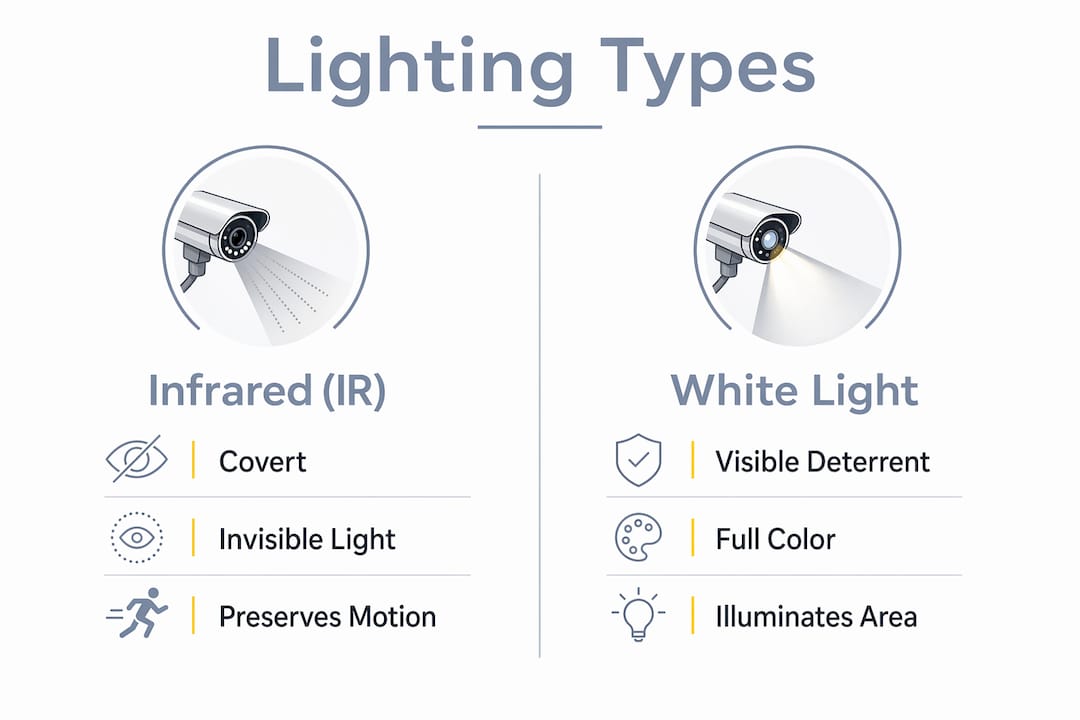
Infrared (IR) illumination is the standard choice for covert nighttime surveillance. IR light is invisible to the human eye but fully visible to camera sensors, allowing cameras to record without alerting subjects. The tradeoff is that IR produces black-and-white footage, which limits color-based identification of clothing, vehicles, or other details.
White-light illumination serves a different function. It produces full-color video and acts as a visible deterrent, since a well-lit property signals active monitoring. White light works best at entry points, parking areas, and any zone where color identification matters for evidence.
The IES recommends foot-candle levels by area type: 5–10 foot-candles for parking areas, 1–5 foot-candles for building perimeters, and 10–20 foot-candles for entrances and loading docks. These numbers are not arbitrary. They reflect the minimum illumination needed for cameras to capture identifiable footage without overexposing the scene.
LED fixtures are the correct choice for both IR and white-light applications. LED lifespan exceeds 50,000 hours, which translates to significantly lower maintenance costs compared to metal halide or high-pressure sodium fixtures. LED also delivers consistent lumen output across its lifespan, unlike older technologies that dim gradually and degrade footage quality before the bulb fails.
| Lighting Type | Best Application | Color Output | Deterrence Value |
|---|---|---|---|
| Infrared (IR) | Covert perimeter, nighttime | Black and white | Low (invisible) |
| White light LED | Entrances, parking, deterrence zones | Full color | High (visible) |
| Hybrid IR/White | Adaptive perimeter systems | Both modes | High |
| Flood lighting | Wide-area coverage | Full color | Moderate |
Pro Tip: Never rely on a single lighting type across your entire property. Use IR for covert perimeter coverage and white light at entry points where color footage and deterrence both matter.
How do lighting placement and angles influence camera image quality?
Fixture placement is where most installations fail. Positioning fixtures at a 30–45 degree angle relative to the camera axis improves facial modeling and eliminates the flat, featureless footage that makes identification impossible. Most installers default to mounting lights directly above or beside cameras, which creates either glare directly into the lens or flat frontal lighting that removes facial shadows needed for recognition.
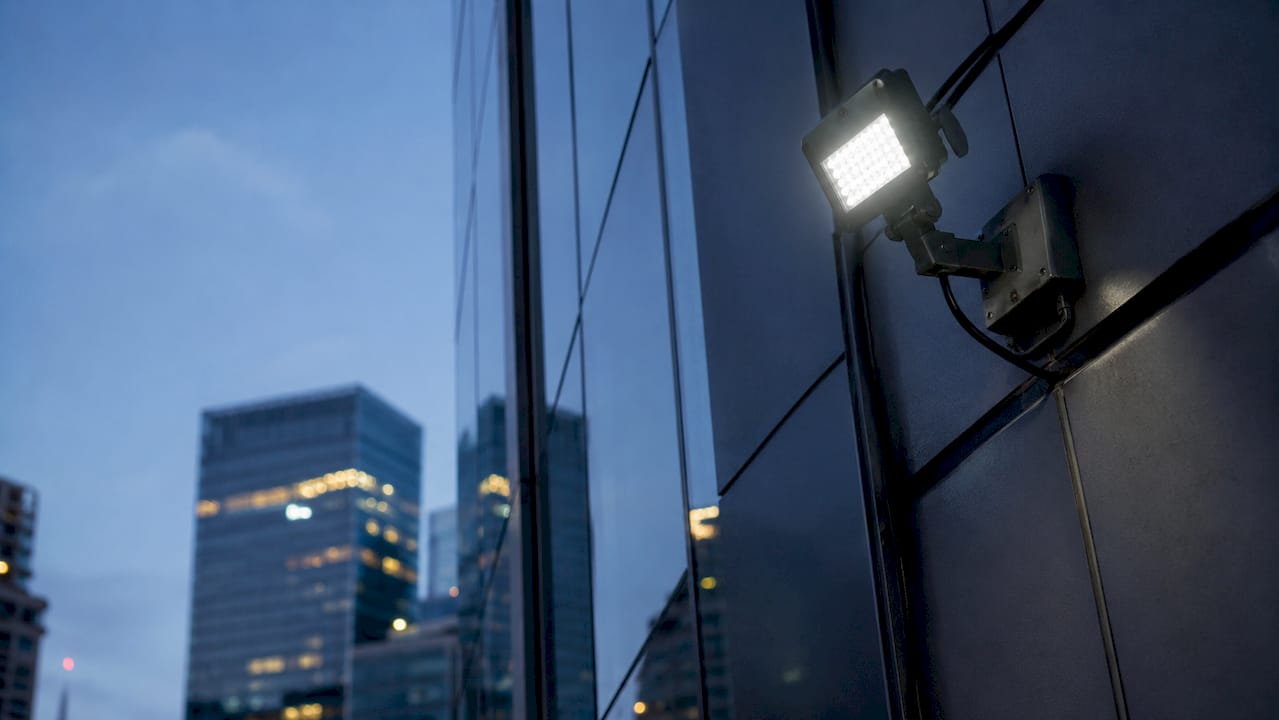
Standard street lighting fails surveillance because it provides horizontal ground illumination, not vertical illumination. Faces and license plates are vertical surfaces. A fixture that lights the pavement well does almost nothing for a camera trying to capture a face at chest height. Dedicated surveillance lighting must be engineered to throw light vertically onto the subjects a camera is monitoring.
Glare and bloom are the two most damaging effects of poor fixture placement. Glare occurs when a light source falls within the camera’s field of view, causing the sensor to compensate by darkening the rest of the image. Bloom is the halo effect around bright light sources that obscures nearby detail. Both problems are solved by mounting fixtures off-camera axis and using shields or louvers to direct light precisely.
Uniformity ratio matters as much as raw brightness. A scene with one very bright zone and deep surrounding shadows is harder for a camera to process than a scene with moderate, even illumination throughout. Consistent perimeter lighting reduces image noise, improves depth perception, and cuts false motion alerts caused by shifting shadows.
Pro Tip: Walk your property at night with a tablet showing the live camera feed. Adjust fixture angles while watching the feed in real time. This single step catches more placement errors than any pre-installation calculation.
- Mount fixtures at a 30–45 degree offset from the camera axis, not directly beside or above the lens.
- Use downlighting with shields to prevent light spill into the camera’s field of view.
- Prioritize vertical illumination to capture faces and license plates, not just ground-level brightness.
- Check uniformity by reviewing the full camera frame, not just the brightest zone.
- Avoid placing fixtures directly behind subjects, which creates silhouettes instead of identifiable images.
What color temperatures and lighting qualities best support camera imaging?
Color temperature directly affects both camera performance and human perception of a space. A color temperature between 3000K and 4000K delivers clear camera imaging while avoiding the harsh reflections and clinical appearance of cooler whites above 5000K. This range produces a neutral to warm white light that renders skin tones and clothing colors accurately on camera.
A common mistake is assuming that cooler, brighter light always produces better footage. Cooler temperatures above 5000K create strong reflections off wet pavement, glass, and metal surfaces. Those reflections appear as blown-out white zones in camera footage, obscuring exactly the areas you need to monitor. The 3000K–4000K range avoids this problem while still providing enough brightness for clear identification.
Color Rendering Index (CRI) is the metric that measures how accurately a light source renders colors compared to natural daylight. A CRI of 80 or above is the minimum for surveillance applications where color identification matters. High-CRI fixtures make it possible to distinguish a gray jacket from a blue one, or a silver sedan from a white one. Low-CRI sources wash out color differences and reduce the evidentiary value of footage.
| Color Temperature | Appearance | Camera Performance | Recommended Use |
|---|---|---|---|
| 2700K–3000K | Warm white | Moderate, good for low-glare zones | Residential perimeters |
| 3000K–4000K | Neutral white | Best balance of clarity and comfort | Parking, entrances |
| 4000K–5000K | Cool white | Good clarity, higher reflection risk | Commercial exteriors |
| Above 5000K | Daylight/blue-white | High glare and reflection risk | Not recommended for surveillance |
Excessive brightness is as damaging as insufficient light. Too much brightness near cameras causes bloom and glare that obscures detail. Moderate, well-directed light with a high CRI outperforms a high-lumen fixture pointed directly at a scene.
How can lighting systems integrate with surveillance technology?
Motion-triggered lighting synchronized with camera event detection is the most effective configuration for most properties. When a camera detects motion, the system switches from IR to white-light mode, capturing full-color footage while simultaneously deterring the subject. Coordinated sensor lighting triggers illumination upon motion detection, improving detection accuracy and reducing energy consumption during inactive periods.
Running lighting and cameras as independent systems is a common and costly mistake. When a camera triggers a recording but the lighting system does not respond, the camera captures IR footage in black and white. The same event captured with synchronized white-light activation produces color footage with far greater evidentiary value. The integration step is not technically complex, but it requires deliberate planning during installation.
A hybrid IR and white-light system gives you the best of both modes. The system operates in IR mode by default for covert, energy-efficient monitoring. When motion analytics detect a defined event, the system switches to white light for color capture and deterrence. Integrated IR and white-light systems optimize both covert operations and color identification without requiring separate fixture installations.
- Map all camera zones and identify which require covert IR coverage versus active white-light deterrence.
- Select fixtures that support both IR and white-light modes with a single controller.
- Configure motion analytics thresholds in the camera system before linking to the lighting controller.
- Test the switching response time. A delay longer than one second between motion detection and light activation reduces the deterrence effect.
- Set up automated maintenance alerts for fixture output levels so degraded bulbs are replaced before they affect footage quality.
Pro Tip: When integrating lighting with cameras, test the full trigger sequence monthly. Motion analytics thresholds drift over time, and a system that worked perfectly at installation may miss events six months later without recalibration.
What practical steps should guide your surveillance lighting design?
Start with IES foot-candle targets as your baseline, then adjust based on camera sensor sensitivity. Parking areas need 5–10 foot-candles, perimeters need 1–5 foot-candles, and entrances need 10–20 foot-candles. Cameras with larger sensors can work at the lower end of each range. Cameras with smaller sensors need illumination at the higher end.
Choose LED fixtures for every new installation or upgrade. The 50,000-plus hour lifespan of LED fixtures reduces maintenance visits and keeps illumination levels consistent over time. Inconsistent illumination from aging fixtures is one of the most common causes of degraded footage quality that goes unnoticed until an incident occurs. You can find energy-efficient LED strategies that apply directly to security lighting upgrades.
- Set fixture height between 10 and 15 feet for most perimeter applications to balance coverage area and vertical illumination angle.
- Use a light meter to verify foot-candle levels at camera height, not just at ground level.
- Review camera footage from each zone after installation, not just the lighting levels.
- Schedule fixture cleaning every six months. Dust and debris on lenses reduce output significantly.
- Replace fixtures proactively at 80% of rated lifespan rather than waiting for failure.
Maintaining your security equipment on a regular schedule preserves the lighting performance your cameras depend on. A single failed or degraded fixture in a critical zone can create a blind spot that undermines an otherwise well-designed system.
Key Takeaways
Proper surveillance lighting requires the right light type, placement angle, color temperature, and system integration to produce footage that is actually usable as evidence.
| Point | Details |
|---|---|
| Use IES foot-candle standards | Target 5–10 fc for parking, 1–5 fc for perimeters, and 10–20 fc for entrances. |
| Apply the 30–45 degree rule | Mount fixtures at an offset angle to the camera axis to improve facial modeling and reduce glare. |
| Choose 3000K–4000K color temperature | This range balances camera clarity with reduced glare and accurate color rendering. |
| Integrate lighting with camera sensors | Synchronized motion-triggered switching between IR and white light improves evidence quality. |
| Select LED fixtures for all installations | LED lifespan exceeds 50,000 hours, keeping illumination consistent and maintenance costs low. |
What most installers get wrong about surveillance lighting
After years of installing and troubleshooting security camera systems, the pattern I see most often is not under-lighting. It is misplaced lighting. Property owners invest in high-lumen fixtures, mount them directly beside cameras, and then wonder why their footage looks flat or washed out. The 30–45 degree positioning rule is the single most overlooked principle in the field. Angle matters more than brightness in the majority of cases I have worked on.
The second mistake is treating lighting and cameras as separate systems. I have walked properties where the camera system was excellent and the lighting was excellent, but they had no connection to each other. The cameras recorded in IR all night while perfectly good white-light fixtures sat on a timer. That is not a security system. That is two systems sharing a property.
Color temperature is the detail that surprises most clients. They assume brighter and cooler is better. When I show them the difference between a 6000K fixture and a 4000K fixture on the same camera feed, the 4000K image is almost always clearer and more useful. The physics of how camera sensors respond to color temperature is not intuitive, but the footage speaks for itself.
My recommendation for any property owner or security professional reviewing their current setup: walk the property at night with a live camera feed open. What you see on that screen is the truth. Foot-candle calculations and spec sheets are starting points. The camera feed is the final test.
— Aaron
Get expert surveillance lighting help from Lowvoltagecorp
Lighting upgrades deliver the most immediate improvement to camera performance of any change you can make to an existing system. Lowvoltagecorp specializes in the installation, repair, and maintenance of security camera systems, including the integrated lighting configurations that make cameras perform at their best. Whether you need a full perimeter lighting redesign or a targeted upgrade at a problem zone, the team at Lowvoltagecorp brings the technical depth to get it right the first time.

Property owners in South Florida can explore cost-saving security upgrades that cover both lighting and camera system improvements. Lowvoltagecorp handles everything from initial site assessment through installation and ongoing maintenance, so your system stays at peak performance year-round.
FAQ
What foot-candle level does surveillance lighting require?
The IES recommends 5–10 foot-candles for parking areas, 1–5 foot-candles for building perimeters, and 10–20 foot-candles for entrances and loading docks. These levels give most security cameras enough light to capture identifiable footage.
Why does street lighting fail for surveillance purposes?
Street lighting provides horizontal illumination designed for ground-level visibility, not vertical illumination needed to capture faces and license plates. Dedicated surveillance fixtures must direct light vertically onto the subjects cameras are monitoring.
What is the best color temperature for security camera lighting?
A color temperature between 3000K and 4000K produces the best balance of camera clarity and reduced glare. Cooler temperatures above 5000K increase reflections off wet or reflective surfaces, which degrades footage quality.
How does infrared lighting improve nighttime surveillance?
IR illumination preserves shutter speed and reduces motion blur, which is critical for capturing clear evidence in low-light conditions. IR allows cameras to record without alerting subjects, making it the standard choice for covert perimeter monitoring.
Should lighting and cameras be integrated or run independently?
Integrated systems always outperform independent ones. Synchronized motion-triggered lighting switches between IR and white-light modes based on camera detection events, producing color footage when it matters most while reducing energy use during inactive periods.