Yes, garages need cameras, but effective parking garage camera coverage depends on which zones get covered first, not how many cameras go up. Entry and exit lanes, elevator lobbies, stairwells, and pay stations matter more than blanket coverage of every parking stall. A garage with well-placed cameras on those choke points can be more effective than one with numerous cameras aimed at open pavement.
Before buying anything, audit these zones promptly to identify coverage gaps:
- Entry and exit lanes (vehicle and plate capture)
- Elevator lobbies and stairwell landings
- Interior stair-to-garage access doors
- Pay stations and cashier booths
- Ramp transitions between levels
- Pedestrian walkways connecting to the building
Pro Tip: Walk each zone at the time of day you’re weakest on staffing. Blind spots hide in shadows a daylight walkthrough will never reveal.
Coverage is a design problem before it’s a shopping list. Field-of-view modeling that maps vehicle and pedestrian flow against camera placement catches blind spots that a rough guess at camera count never will.
Key Takeaways
Effective parking garage camera coverage depends on modeling field of view and prioritizing entry/exit, stairwells, and elevator lobbies over raw camera count.
| Point | Details |
|---|---|
| Prioritize zones, not count | Cover entry/exit lanes, stairwells, elevator lobbies, and pay stations before open parking fields. |
| Match resolution to objective | Use higher pixels-per-foot for plate capture and facial detail than for general area surveillance. |
| Model before you buy | Field-of-view modeling software catches blind spots on screen, preventing wasted spend on extra hardware. |
| Test on-site, day and night | Live vehicle approach tests and night recordings catch lighting and IR failures modeling alone misses. |
| Get a professional audit | Lowvoltagecorp offers on-site coverage audits with FOV modeling and a prioritized remediation plan for South Florida facilities. |
Table of Contents
- What Types of Cameras Work Best in a Parking Garage?
- Where Should Cameras Go for Full Coverage?
- How Much Resolution Do You Actually Need?
- How Do You Verify Coverage Before and After Installation?
- How Should You Phase and Budget the Project?
- What Maintenance and Monitoring Keep Coverage Reliable?
- How Long Should You Keep Parking Garage Footage?
- Sources
What Types of Cameras Work Best in a Parking Garage?
Different zones call for different hardware, and treating a garage as one uniform surveillance problem is the most common mistake facility teams make. The right mix usually blends four camera types, each solving a distinct piece of the coverage puzzle.
Fixed cameras anchor the system. They cover choke points, entry lanes, and aisle intersections where a stable, unwavering field of view matters more than flexibility. Because they don’t move, fixed units are easier to model, cheaper to maintain, and less prone to the alignment drift that plagues moving cameras in a garage’s constant vibration and temperature swings.
PTZ (pan tilt zoom) cameras work best as an active-monitoring supplement, not a primary coverage tool. A guard or monitoring service can steer a PTZ toward a reported incident, but a PTZ pointed the wrong way at the moment something happens is a gap, not a camera. Never rely on PTZ units to cover a zone that needs continuous, forensic-grade footage.
Multi-sensor or panoramic units trade some resolution for wide coverage from a single mounting point. They work well over open parking fields and ramps where one camera replacing three fixed units saves on conduit and mounting hardware, though the pixel density per vehicle drops as the field widens.
License plate recognition (LPR/ANPR) cameras belong at every vehicle entry and exit point. Parking Professional’s placement guidance treats plate capture as a distinct objective from general area surveillance, requiring its own lens and angle spec rather than borrowing double duty from a wide-area camera.
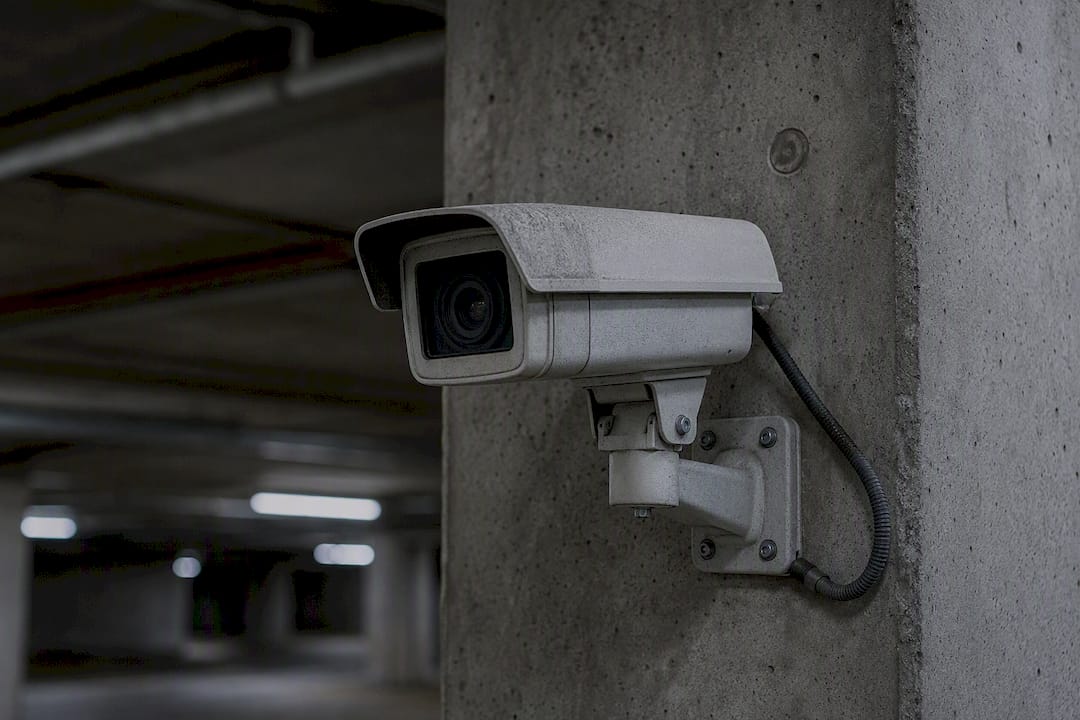
Every unit in a garage, indoor or outdoor parking lot cameras alike, needs an IP66 or higher weatherproof rating and IK08 or better impact resistance. Vandalism and exhaust exposure destroy under-rated hardware fast.
Where Should Cameras Go for Full Coverage?
Placement strategy starts with matching each zone to what you actually need to prove on footage. Entry and exit lanes need license plate capture. Elevator lobbies and pay stations need facial detail. Open parking fields need general area awareness so you can track a person or vehicle across the frame.
Recommended mounting specs by zone:
- Entry/exit lanes: mount 7 to 9 feet high, angled to capture the plate as the vehicle slows, not as it accelerates away.
- Parking field/aisles: mount 10 to 14 feet high on columns or ceiling, angled downward to cover two rows of stalls per camera without excessive foreshortening.
- Ramps: mount at the top and bottom of each ramp run, angled to catch vehicles at their slowest point rather than mid-grade.
- Stairwells: one camera per landing, mounted high enough to avoid easy reach but low enough to read a face at the doorway.
- Elevator lobbies: mount above the elevator door line, angled to capture anyone waiting, not just the elevator car interior.
- Pay stations: mount close and slightly elevated for facial detail on the transaction, separate from the wide shot covering the surrounding lane.
The overlap rule matters more than most managers assume. Every camera’s field of view should share a few feet of coverage with its neighbor’s frame. That overlap is what turns a set of isolated shots into one continuous, followable path from the entry lane through the stairwell to the elevator lobby. Without it, a person can walk from one camera’s edge into a genuine gap and simply vanish from the record.
Common blind spots show up in predictable places: behind support columns, at the base of ramps where sightlines break, and in the dead zone between a wide-area camera’s edge and the next fixture’s start. Modeling software that simulates each camera’s true field of view before installation catches these gaps on a screen instead of after a claim or incident report shows the footage missing.
Pro Tip: Model overlap at the height a person’s face actually sits, not at ground level. A garage floor plan looks fully covered until you realize every camera was aimed at bumpers.
How Much Resolution Do You Actually Need?
Resolution decisions should start with pixels-per-foot at the farthest point you need to read, not with a megapixel number on a spec sheet. A camera can be technically 4K and still produce useless footage if the lens and distance combination puts too few pixels on the target.
Parking Professional recommends tiering resolution by objective: higher pixel density for license plate capture at entry and exit lanes, moderate density for general area surveillance across open parking fields, and higher density again for facial detail at cashier booths and elevator lobbies. Treating every camera as needing the same resolution wastes budget on the wide shots and under-serves the choke points that actually matter for identification.
As a baseline, general area surveillance benefits from Full HD resolution, while higher resolution cameras are beneficial for longer distances or wide-area shots requiring forensic detail. License plate recognition cameras need dedicated narrow fields of view with lenses matched to specific plate capture requirements.
Lens choice follows the same logic. A wide-angle lens suits open parking fields where area coverage matters more than detail on any one point. A telephoto or varifocal lens suits entry lanes and stairwell doors where you need to fill the frame with a face or a plate from a fixed distance.
Wide dynamic range (WDR) handling separates usable garage footage from washed-out garbage. Parking structures routinely combine bright daylight at the entrance with deep shadow twenty feet in, and a camera without real WDR will either blow out the bright zone or lose the dark one. Infrared illumination causes its own failure mode: IR pointed directly back at reflective surfaces like wet pavement or a windshield washes out the exact plate you’re trying to capture. Lighting design that accounts for camera placement rather than treating lighting and cameras as separate projects avoids most of this.
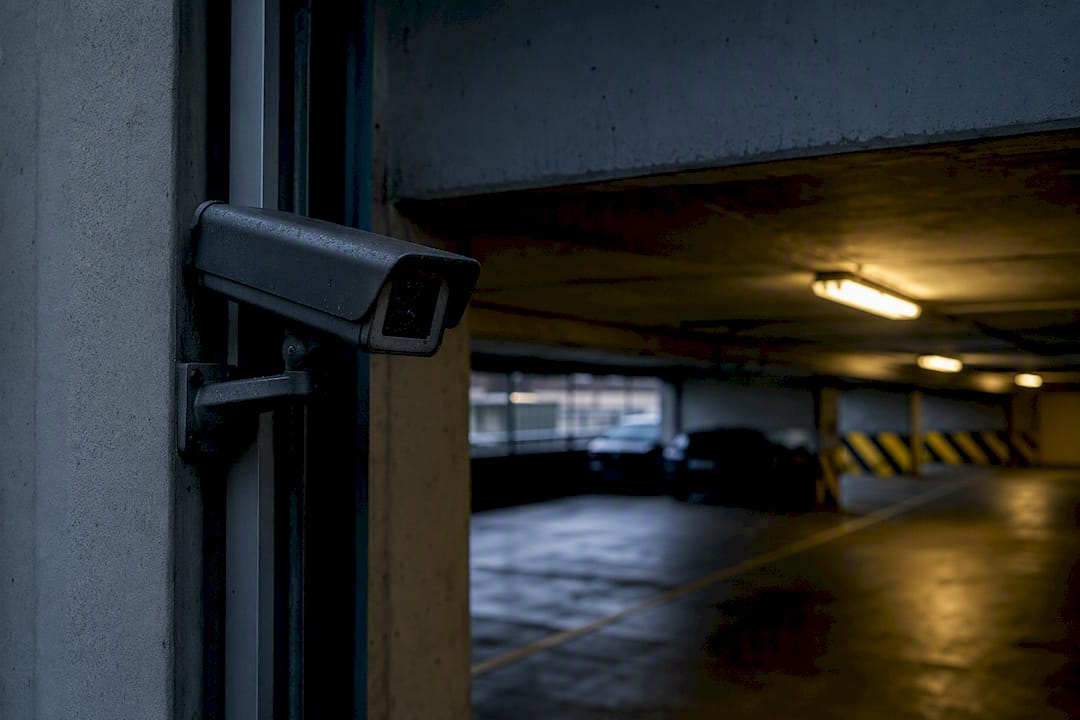
Underground levels need their own environmental spec: dehumidification-tolerant housings and a cleaning schedule for IR-emitting lenses, since underground garages trap moisture and exhaust residue that fog lenses faster than an open-air lot ever will.
How Do You Verify Coverage Before and After Installation?
Modeling before installation is what separates a garage that’s actually covered from one that just looks covered on paper. Tools like JVSG or IPVideoSystem simulate each camera’s real field of view, including lens distortion and mounting angle, so you catch a blind spot on a screen instead of discovering it after an incident. This kind of verification routinely prevents the common and expensive mistake of buying extra cameras that still leave the same gap uncovered.
A practical verification sequence looks like this:
- Map every zone against its surveillance objective, plate capture, facial detail, or general area.
- Model the field of view for each proposed camera position, checking overlap with its neighbors.
- Confirm pixels-per-foot at the farthest point in each zone meets the resolution tier that zone needs.
- Pick final mounting points, adjusting for structural obstructions modeling software can’t see, like a beam or duct run.
- Run day and night test recordings at each installed position before calling the job done.
- Perform live vehicle approach tests at entry and exit lanes to confirm plate capture actually works at real speed, not just in theory.
- Verify overlap on camera, not just in the model, since real-world mounting rarely matches the plan exactly.
Field practitioners report that lighting hitting the lens directly, or IR washout on wet pavement, causes the most common real-world failures that modeling alone won’t catch. That’s why on-site test recordings during day and night belong in the acceptance criteria for any install, not as an afterthought.
Once cameras are live, tuning the video management system matters as much as the hardware. Set motion zones to exclude irrelevant movement like tree branches or passing traffic outside the garage. Configure LPR illumination separately from general lighting. Set loitering thresholds that reflect actual dwell time in stairwells and elevator lobbies. Route alerts to whoever is actually staffed to respond, not to an inbox nobody checks after 6 p.m.
Pro Tip: Document every test recording as a timestamped acceptance file. If a claim ever hinges on footage from that camera, you’ll want proof it was verified working on installation day.
How Should You Phase and Budget the Project?
Full-building coverage rarely happens in one pass, and trying to do it all at once usually means overspending on the easy zones and underspending on the hard ones. A phased approach works better: patch the highest-risk gaps first (entry/exit lanes, stairwells, elevator lobbies), then extend to full-level coverage across parking fields and ramps, then layer in analytics and perimeter LPR once the base system is stable.
Camera-per-stall heuristics get thrown around a lot, but they’re a rough starting point at best, never a substitute for modeling actual sightlines against your garage’s specific column spacing and ceiling height. A structure with wide-open sightlines needs fewer cameras than a heuristic suggests; a structure full of columns and ramps needs more.
Cost drivers to plan for:
- Camera hardware specced to pixels-per-foot requirements, not generic megapixel counts
- Mounting hardware and conduit runs, especially on ramps and exposed levels
- Network infrastructure, PoE switches, and cable runs. See wiring and installation guidance for what a proper PoE build looks like.
- VMS software and licensing per camera
- Storage sized to your retention window and camera count
- Ongoing monitoring, whether in-house or contracted
Procurement checklist for any bid: pixels-per-foot spec at the target distance, lens and focal length matched to each zone, mounting height and angle, environmental rating (IP66/IK08 minimum), and warranty terms that cover both hardware and labor. If any vendor’s bid skips the pixels-per-foot number, that’s a design gap, not a minor omission. Early sitework decisions like camera pole footings or conduit trenching often overlap with parking lot construction planning, so loop that phase in before pavement goes down, not after.
What Maintenance and Monitoring Keep Coverage Reliable?
Cameras degrade quietly. A camera knocked two degrees off its mount by a maintenance vehicle can sit misaligned for months before anyone notices the gap it created.
Set a maintenance cadence: monthly visual checks for physical alignment and lens fouling, quarterly test recordings to confirm day and night performance still meets spec, and annual firmware updates plus a full physical inspection of housings and mounts.
Monitoring options range from recorded-only (footage exists but nobody watches live) to analytics-based alerts (motion or loitering triggers a notification) to full live monitoring with a staffed response. NIJ and OJP guidance makes the point plainly: cameras rarely stop crime by themselves. Recording without a response plan behind it converts video into evidence after the fact, not prevention during the event.
Retention and privacy basics matter too:
- Document camera positions, retention periods, and access logs for audit purposes.
- Avoid angles that peer into adjacent private property or residential windows.
- Post signage where required, and treat audio capture as a separate legal question from video, since many jurisdictions regulate it more strictly.
How Long Should You Keep Parking Garage Footage?
Retention policy for parking surveillance should reflect how the footage actually gets used, not a generic default pulled from a template built for a retail storefront. Most incident claims, vehicle theft reports, or slip-and-fall disputes surface days or weeks after the event, not hours, so a retention window under 30 days leaves you exposed right when a claim is most likely to land.
Many facilities adopt a retention policy reflecting usage patterns, keeping general area footage for standard periods and longer durations for critical zones like entry/exit points, license plate recognition footage, elevator lobbies, and stairwells due to their investigative importance.
Storage sizing follows resolution choices directly. Higher pixel density at entry lanes and cashier booths means those camera feeds consume more storage per day than a wide-angle shot over an open lot, so plan storage capacity by zone, not as a flat average across every camera.
Access control matters as much as duration. Keep a documented log of who pulled footage, when, and why. If a subpoena or insurance request ever asks for a chain of custody, an informal “someone probably has it on a laptop” answer is a real liability. A simple written retention policy, reviewed annually and updated whenever camera counts or zones change, closes most of the gap between what a facility thinks it’s keeping and what it can actually produce on request.
A Field Perspective on What Actually Breaks Coverage
Most garage camera failures I’ve seen in the field trace back to two things: a camera that got bumped or drifted out of alignment months ago and nobody noticed, and lighting installed without any thought to where the cameras would eventually go. A fixture aimed straight down a ramp will wash out a plate camera every single evening at the same angle of low sun, and nobody catches it until an incident report comes back with unreadable footage.
A proper coverage audit starts with the same modeling approach covered above: map the zones, model the field of view, and test on-site with real vehicles at real speed. Managers should expect a deliverable that shows exact mounting points, resolution specs per zone, and a written remediation list ranked by risk, not just a camera count and an invoice.
— Aaron
Get a Coverage Audit Before You Buy More Cameras
If the zones above expose gaps in your current setup, the fix usually costs less than buying more hardware and pointing it at the same problem differently. Lowvoltagecorp runs on-site coverage audits across South Florida that include field-of-view modeling, pixels-per-foot verification at your entry lanes and choke points, and a prioritized remediation plan ranked by actual risk instead of a generic upsell list.

Beyond the audit itself, Lowvoltagecorp handles the full scope a real fix requires: wiring and PoE infrastructure, lighting tuning to eliminate IR washout and glare at entry lanes, repairs on existing cameras that have drifted or failed, and integration with whatever monitoring or access control system you’re already running. If your lighting is fighting your cameras rather than working with them, the lighting considerations guide covers the exact interaction causing most nighttime plate-capture failures.
Schedule a coverage audit with Lowvoltagecorp and get a prioritized plan before spending another dollar on cameras that won’t fix the actual gap.
Sources
- Parking Lot CCTV Placement Design: Coverage Planning and Blind Spot Elimination | Parking Professional
- NIJ / OJP CCTV and video surveillance guidance (NIJ grant report)