A security camera repair workflow is a structured, repeatable process that takes a malfunctioning camera from reported fault to verified fix without guesswork or wasted time. Property managers who skip this structure pay for it twice: once in labor and once in surveillance gaps. 30–40% of installed cameras develop image degradation, recording failures, or positioning issues within 12 months, and the cause is almost never a defective unit. Maintenance gaps are the real culprit. A tight camera repair process closes that gap before it becomes a liability.
What does a security camera repair workflow include?
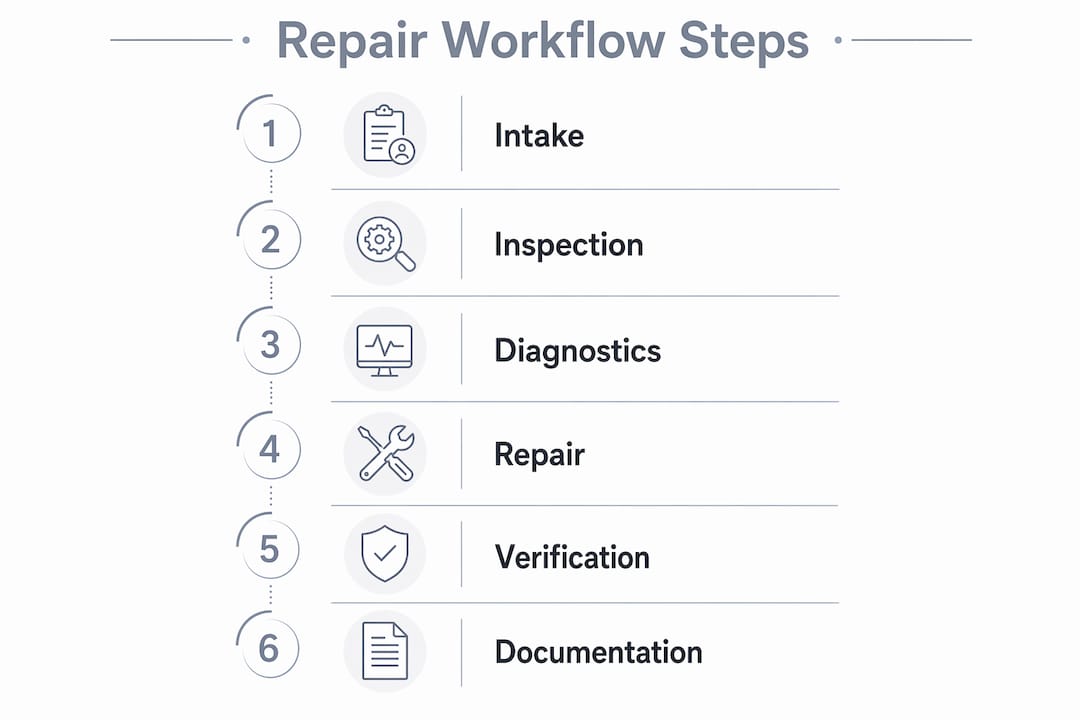
A complete security camera repair workflow covers six core stages: intake, physical inspection, diagnostics, repair execution, verification, and documentation. Each stage has a defined output before the next one begins. That structure is what separates a 45-minute fix from a three-visit ordeal.
The industry term for this approach in facility management is preventive and corrective maintenance protocol. The repair workflow is the corrective half. It kicks in when a camera fails or underperforms, and it works best when paired with a preventive maintenance routine that catches problems early.
AI health monitoring tools now automate the detection of blurry footage, full disk storage, offline cameras, and image quality drops in real time. That means your repair queue arrives pre-sorted by priority rather than by whoever complained first.
What tools do you need before starting camera repairs?
The right tools on hand before you start a repair cut diagnostic time significantly. Showing up without them turns a one-trip job into two.
Physical tools every technician needs:
- Precision screwdriver set (Phillips and Torx heads for most dome and bullet housings)
- Lens cleaning kit: microfiber cloths, isopropyl alcohol (90%+), and a blower brush
- Coaxial and Cat5e/Cat6 cable testers
- Spare BNC connectors, RJ45 ends, and a crimping tool
- Voltage meter for power supply checks
- Ladder rated for the camera’s mounting height
Software and access requirements:
- NVR/DVR admin credentials and the device’s current firmware version
- Camera manufacturer app or browser-based interface access
- Network switch login for port-level diagnostics
- System manual or wiring diagram for the specific installation
Safety matters before you touch anything. Cameras mounted on metal housings can carry voltage if grounding is poor. Always verify power is isolated at the switch before handling wiring. Outdoor cameras in humid climates like South Florida often have corroded terminals, so insulated gloves are not optional.
Pro Tip: Keep a parts inventory log with camera model, serial number, and last service date for every unit on the property. Cross-reference it against your spare parts bin monthly. Running out of a common IR LED board mid-repair is avoidable.
A network maintenance checklist should sit alongside your camera repair kit. Network faults account for a large share of cameras that appear broken but are simply unreachable.
Step-by-step security camera repair workflow from diagnosis to fix
A well-documented repair workflow spans intake, diagnosis, estimate, approval, parts ordering, repair execution, quality control, and status updates. For property managers handling in-house repairs, the approval and ordering steps compress, but the sequence stays the same.
1. Intake and documentation
Record the camera ID, location, reported symptom, and any visible damage before touching the unit. Take a photo of the current image output from the NVR/DVR. This baseline protects you if the issue worsens during repair.
2. Physical inspection
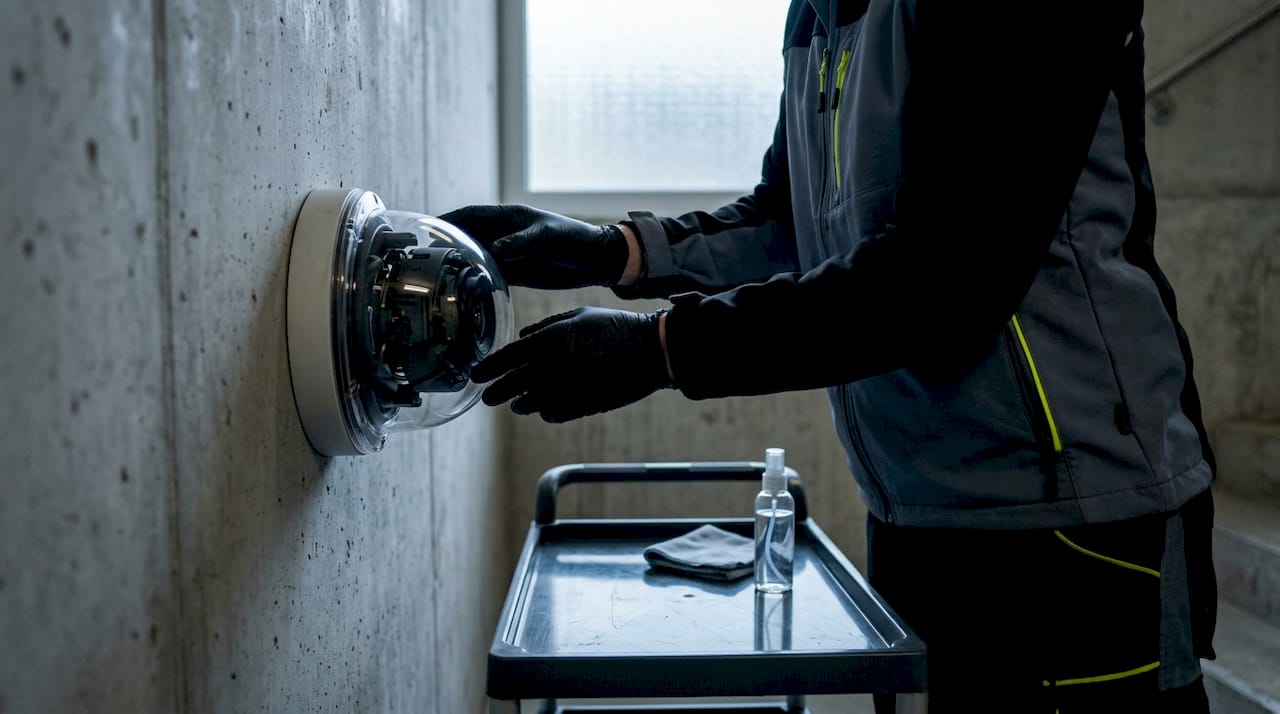
Check the lens for smudging, condensation, or cracks. Verify the camera angle has not shifted due to vibration or tampering. Inspect the cable run for pinches, cuts, or loose connectors at both ends. Environmental contamination like dust and condensation causes more camera faults than component failure, so cleaning comes before any electronic diagnosis.
3. Power and connectivity check
Confirm the camera receives correct voltage at the terminal. Test the cable with a known good replacement before assuming the camera itself is faulty. Testing cables first saves repair costs and avoids unnecessary parts replacement.
4. NVR/DVR diagnostics
Log into the recorder and check the camera’s live feed, recording status, and storage capacity. Verify the system clock is accurate. Incorrect clock sync after power outages causes footage to appear missing because it indexes under the wrong timestamp. This is one of the most common misdiagnoses in CCTV troubleshooting.
5. Software and network diagnostics
Check the camera’s IP address for conflicts. Reauthorize the camera on the network if it dropped offline. Test the mobile app or remote viewer connection separately from the local feed to isolate whether the issue is local or network-side.
6. Repair execution
Power cycle the camera and recorder together. Replace the cable if the tester flagged it. Swap the IR LED board or lens module if physical damage is confirmed. Update firmware if the version is more than one release behind the current build.
7. Verification
Pull a live feed and a recorded clip from the repaired camera. Confirm image clarity, correct timestamp, and that motion recording triggers as expected. Check night vision performance if the camera covers a low-light zone.
8. Documentation and communication
Log every action taken, parts used, and the post-repair test result. Update the maintenance record for that camera. Notify the property owner or facilities director with a one-line status update.
Pro Tip: Always test the repaired camera at the same time of day the fault was originally reported. A camera that looks fine at noon may still fail at night if the IR LEDs are partially burned out.
Common troubleshooting scenarios and how to avoid repair pitfalls
Blurry images, intermittent video, and missing recordings are the three complaints property managers hear most. Each has a short list of likely causes, and matching symptom to cause before acting saves significant time.
| Symptom | Most likely cause | Recommended action |
|---|---|---|
| Blurry or foggy image | Smudged lens, condensation inside housing | Clean lens; reseal housing gasket |
| Intermittent video loss | Loose BNC/RJ45 connector, cable damage | Re-terminate connectors; run cable test |
| Missing recordings | Full storage drive, wrong NVR clock | Delete old footage or expand storage; resync system time |
| Camera offline | IP conflict, network switch port failure | Reassign IP; test on alternate switch port |
| No night vision | Burned IR LEDs, IR cut filter stuck | Replace IR LED board; test filter manually |
The biggest pitfall in video surveillance troubleshooting is jumping to a factory reset. Factory resets wipe motion zones, recording schedules, and custom settings. Most issues resolve with a power cycle, network reauthorization, or app refresh. Reserve the reset for after every other option fails.
The second most common pitfall is ignoring time synchronization. A recorder showing the wrong date after a power outage will index new footage under old timestamps. Footage appears missing, the manager panics, and a technician gets called for a problem that takes 90 seconds to fix.
Pro Tip: Set your NVR/DVR to sync time automatically via an NTP server. This eliminates the timestamp problem entirely and costs nothing to configure.
Lighting conditions also cause misdiagnosed camera faults. A camera that produces washed-out or dark images may have nothing wrong with it. The problem is the scene, not the sensor.
Best practices for ongoing security camera maintenance
Preventive maintenance is cheaper than reactive repair every time. The goal is to catch lens fouling, storage creep, and firmware drift before they cause a failure.
Recommended maintenance schedule:
- Daily: Review AI monitoring alerts for offline cameras, storage warnings, and image quality flags
- Monthly: Physical inspection of all outdoor cameras, including lens cleaning, housing seal check, and cable inspection at the mounting point
- Quarterly: Physical inspection of indoor cameras in low-traffic areas; verify recording schedules and motion zone settings
- Annually: Full firmware audit across all cameras and recorders; replace aging cables; review storage capacity against retention requirements
Physical inspections should be monthly for outdoor cameras and quarterly for indoor low-traffic areas. Combining manual checks with AI monitoring catches issues that neither method finds alone.
A comprehensive CCTV maintenance program includes lens cleaning, recording verification, storage management, night vision testing, positioning checks, and network validation. That list maps directly to the most common failure points.
Firmware updates deserve special attention. Outdated firmware is a security vulnerability and a performance issue. Schedule updates during low-activity hours and always back up camera settings before applying a new build.
Documentation is the maintenance practice most managers skip and most regret. A log that shows when each camera was last serviced, what was found, and what was done creates an audit trail that supports insurance claims, lease disputes, and liability defenses.
Key Takeaways
A structured security camera repair workflow reduces downtime, prevents misdiagnosis, and extends the life of every camera on your property.
| Point | Details |
|---|---|
| Start with intake documentation | Record camera ID, symptom, and a baseline image before any repair begins. |
| Clean before you diagnose | Lens fouling and condensation cause more faults than component failure. |
| Check time sync early | Wrong NVR/DVR clock after a power outage makes recordings appear missing. |
| Avoid premature factory resets | Power cycles and network reauthorization fix most issues without wiping settings. |
| Combine AI monitoring with physical checks | Automated alerts and monthly inspections together catch what either method misses alone. |
What I’ve learned from years of camera repair calls
The call I get most often from property managers goes like this: “The camera stopped recording and we need a new one.” Nine times out of ten, the camera is fine. The storage drive is full, or the NVR clock drifted after a power blip, or someone bumped the cable at the junction box.
The real problem is not the hardware. It is the absence of a documented process. When there is no workflow, every fault gets treated as a crisis. The manager calls for emergency service, a technician drives out, spends 20 minutes on a fix that should have been caught in a weekly review, and the invoice reflects the urgency rather than the work.
I have seen facilities cut their camera-related service calls significantly after adopting AI health monitoring. The system flags a storage warning at 80% capacity. The manager clears old footage before it hits 100%. No recording gap, no emergency call, no lost evidence. That is the value of shifting from reactive to scheduled maintenance.
My honest advice: do not replace a camera until you have cleaned the lens, tested the cable, checked the clock, and confirmed the storage has room. That sequence resolves the majority of faults. Factory resets and hardware swaps are the last step, not the first instinct.
— Aaron
Lowvoltagecorp’s camera repair and maintenance services
Property managers who want a reliable camera system without building an in-house repair team have a direct option. Lowvoltagecorp specializes in security camera installation, repair, and maintenance across South Florida, with the same technicians handling network infrastructure, wired and wireless systems, and cell boosters.

Lowvoltagecorp builds maintenance plans around your property’s camera count, location types, and retention requirements. That includes AI monitoring integration, scheduled physical inspections, and same-day response for critical faults. For managers who want to go deeper on image quality, the surveillance lighting guide covers how scene lighting affects camera performance and what to adjust before calling for a repair. Managers dealing with recurring network-side camera drops can also review cost-saving security upgrades that address root causes rather than symptoms.
FAQ
What is the first step in a security camera repair workflow?
The first step is intake documentation: record the camera ID, reported symptom, and a baseline image from the recorder before touching anything. This baseline prevents misdiagnosis and protects against liability if the issue worsens.
Why do security cameras show missing recordings?
Missing recordings are most often caused by a full storage drive or an incorrect NVR/DVR clock after a power outage. Wrong timestamps index footage under the wrong date, making it appear absent when it exists.
How often should security cameras be physically inspected?
Outdoor cameras need monthly physical inspections, while indoor cameras in low-traffic areas require quarterly checks. AI monitoring tools should run continuously between manual inspections to catch issues in real time.
When should you factory reset a security camera?
Factory resets should only happen after power cycles, cable tests, network reauthorization, and app troubleshooting have all failed. Resets wipe motion zones and recording schedules, so they carry a real cost.
What causes most security camera failures?
Lack of systematic maintenance causes 30–40% of cameras to develop faults within 12 months. Smudged lenses, shifted angles, and full storage drives are the leading culprits, not defective hardware.